
Garden shower. Why a garden shower is essential in summer. In summer, there’s hardly anything more refreshing than a quick cool-down in your own garden. A garden shower is just the thing for that – provided you know what to look out for. I still remember installing my first garden shower and making a few mistakes. The water sprayed everywhere but where I wanted it, and the floor became muddy and slippery. But with a few simple tricks, you can turn your garden shower into a true summer hero.
If you spend a lot of time in the garden, especially with children or after gardening, a shower like this is a great option. Models with solar water heating are particularly practical, as they warm the water by a few degrees. This provides significantly more comfort and significantly extends your outdoor shower time.
The most important tips for the right location and construction of the garden shower
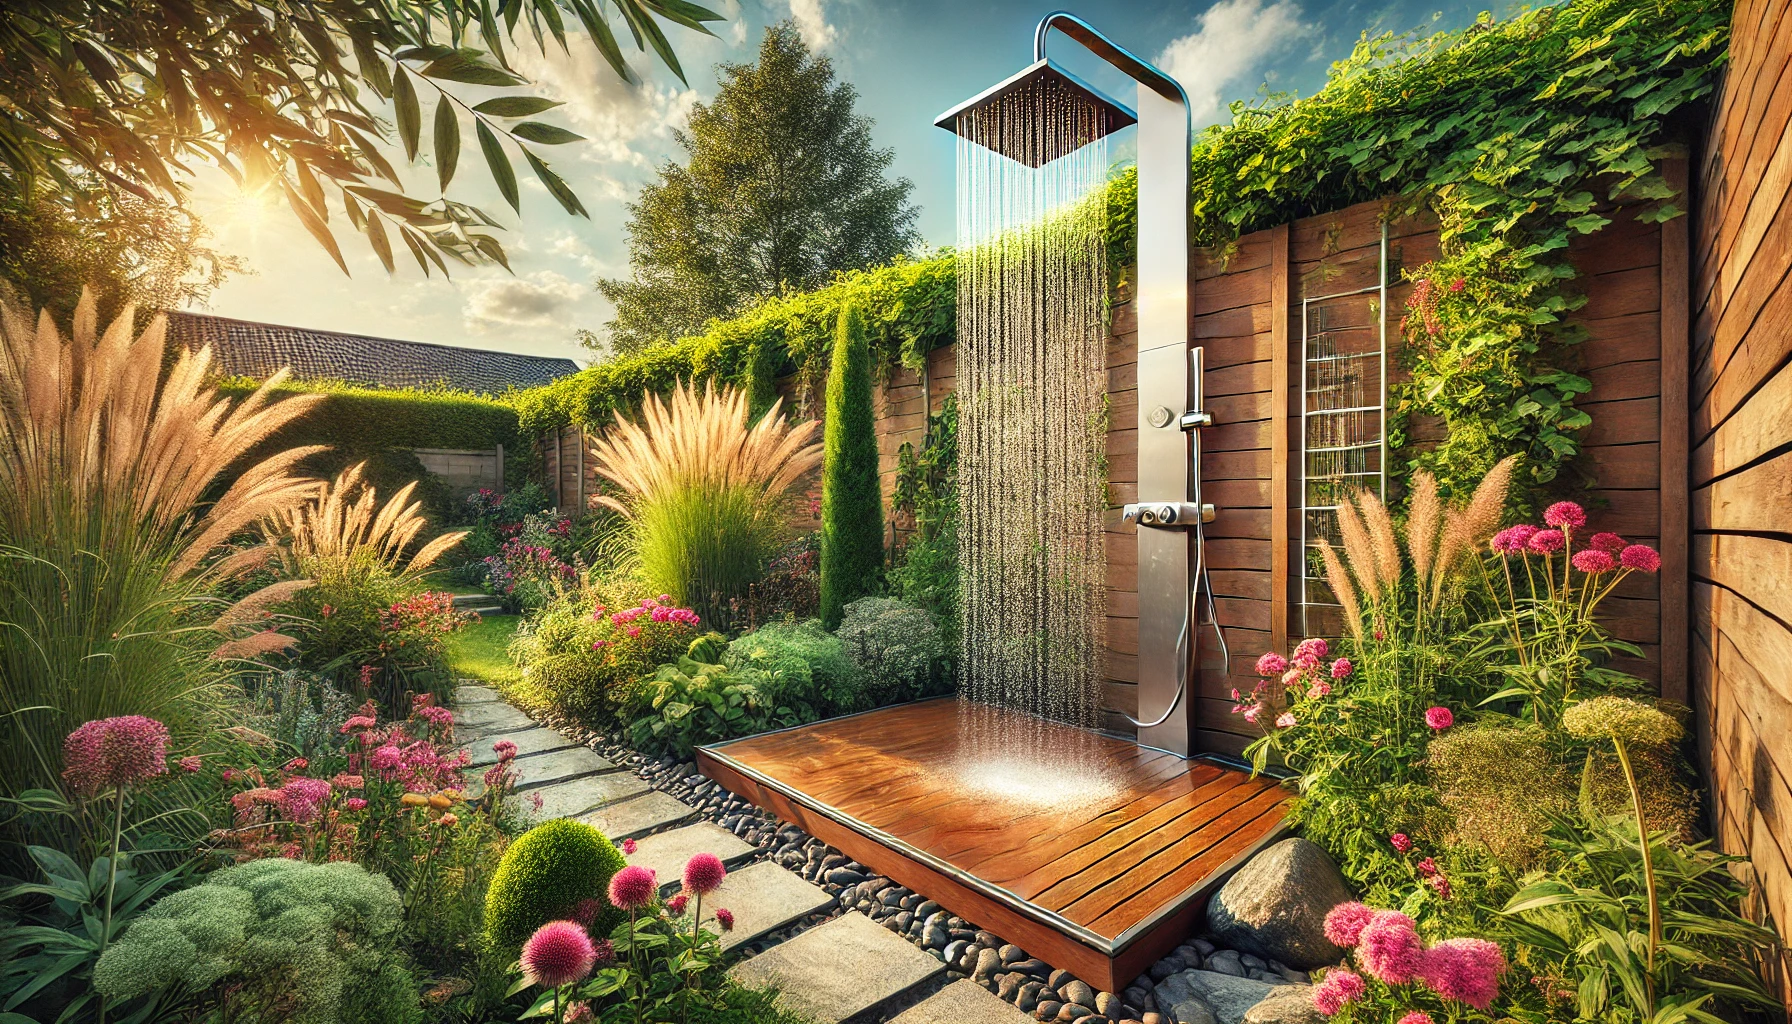
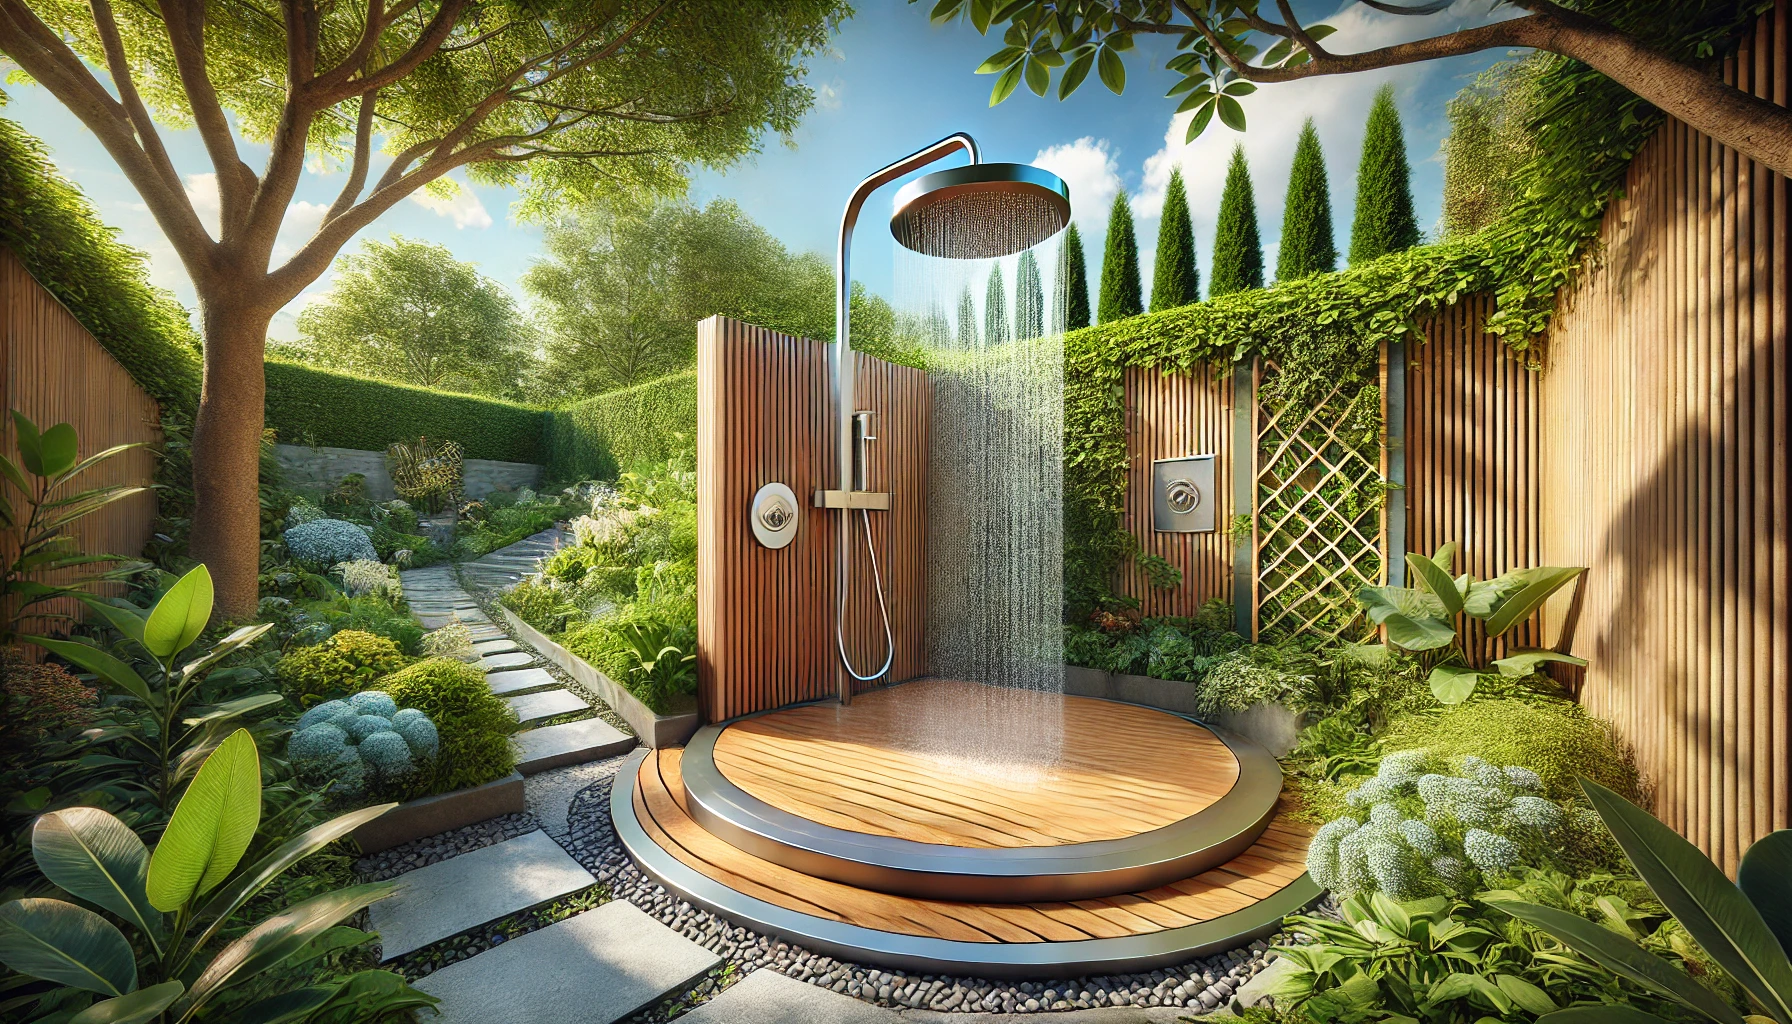
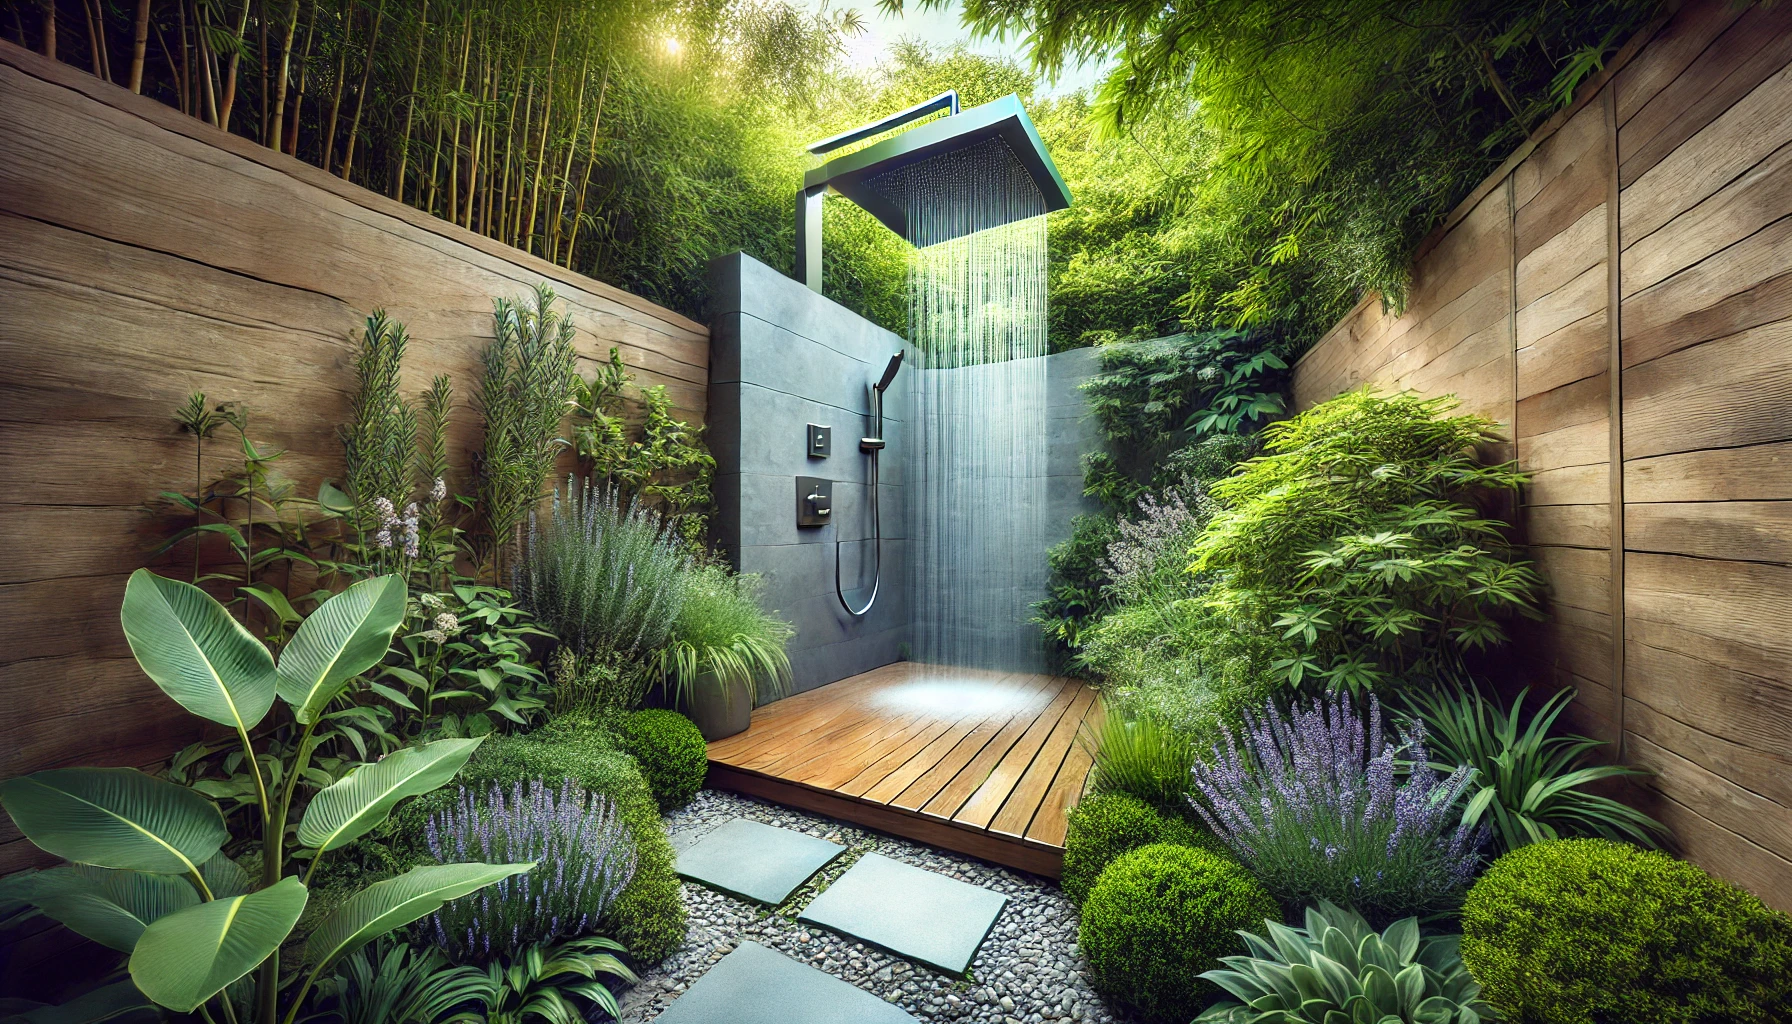
The location of your garden shower makes a huge difference. I initially set up my shower next to the patio, but it quickly got cold once the sun went down. So I moved it closer to the south side of the house, where it gets sun all day long—since then, showering outside has been a real pleasure.
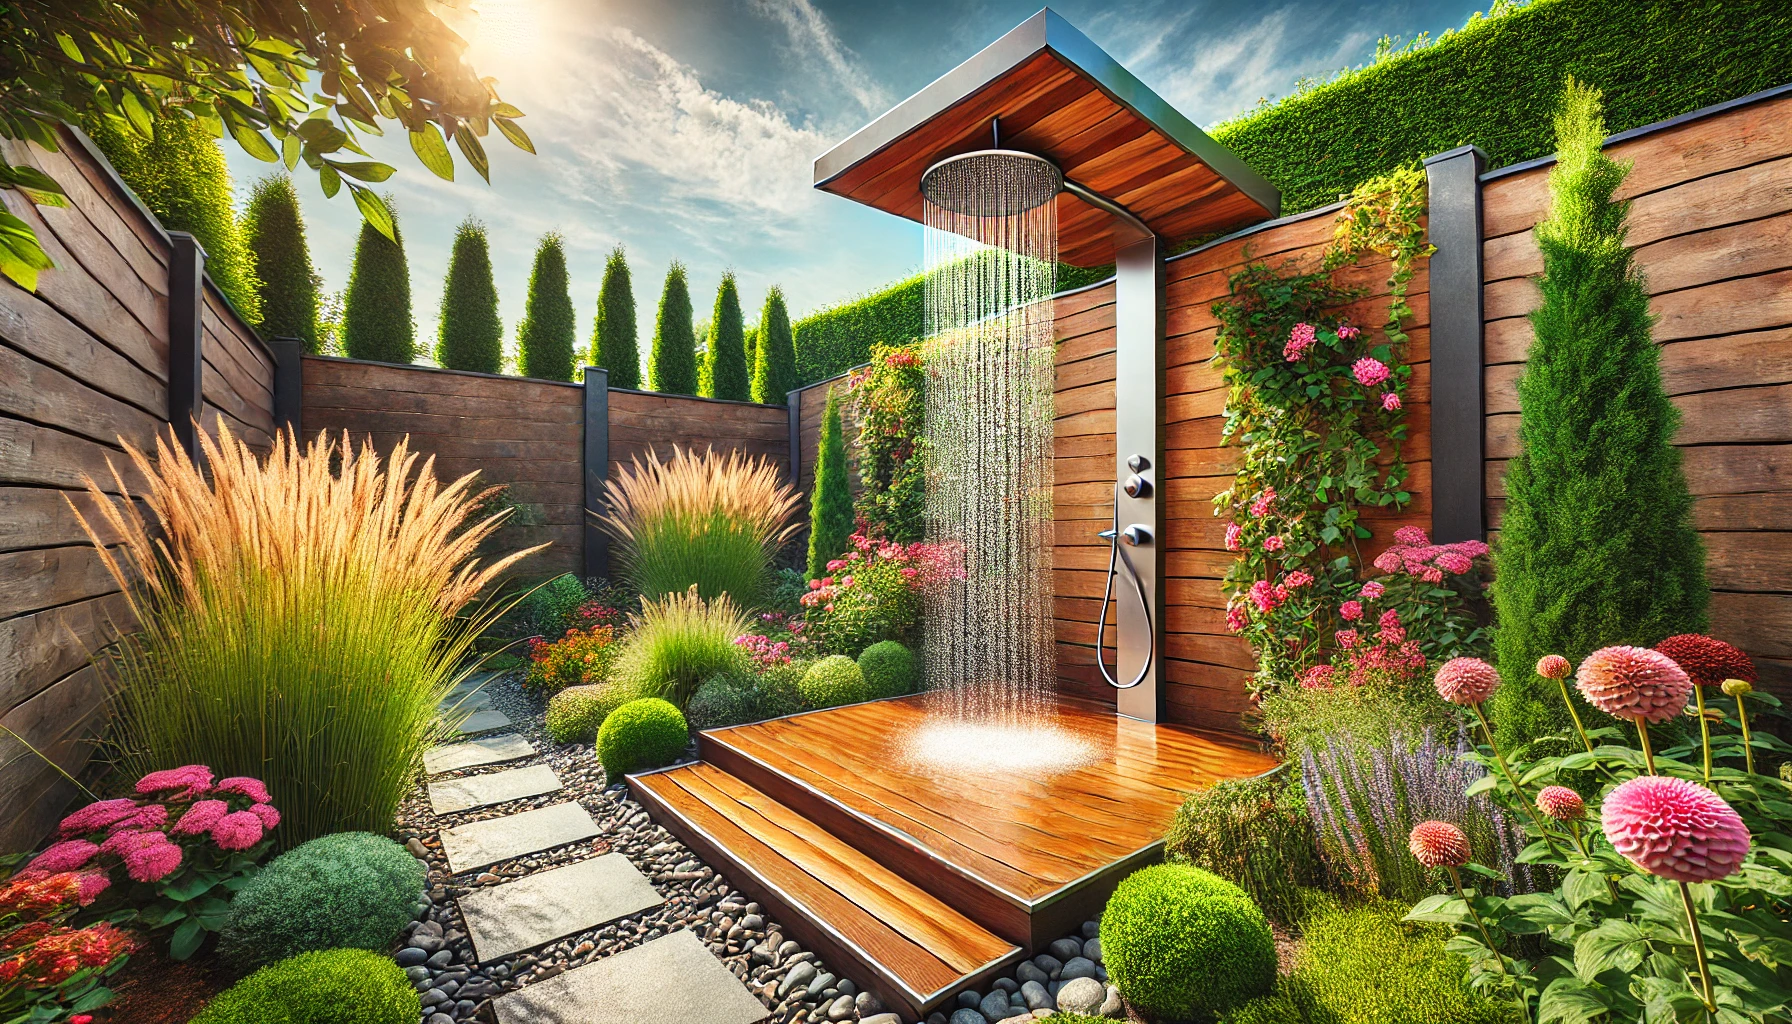
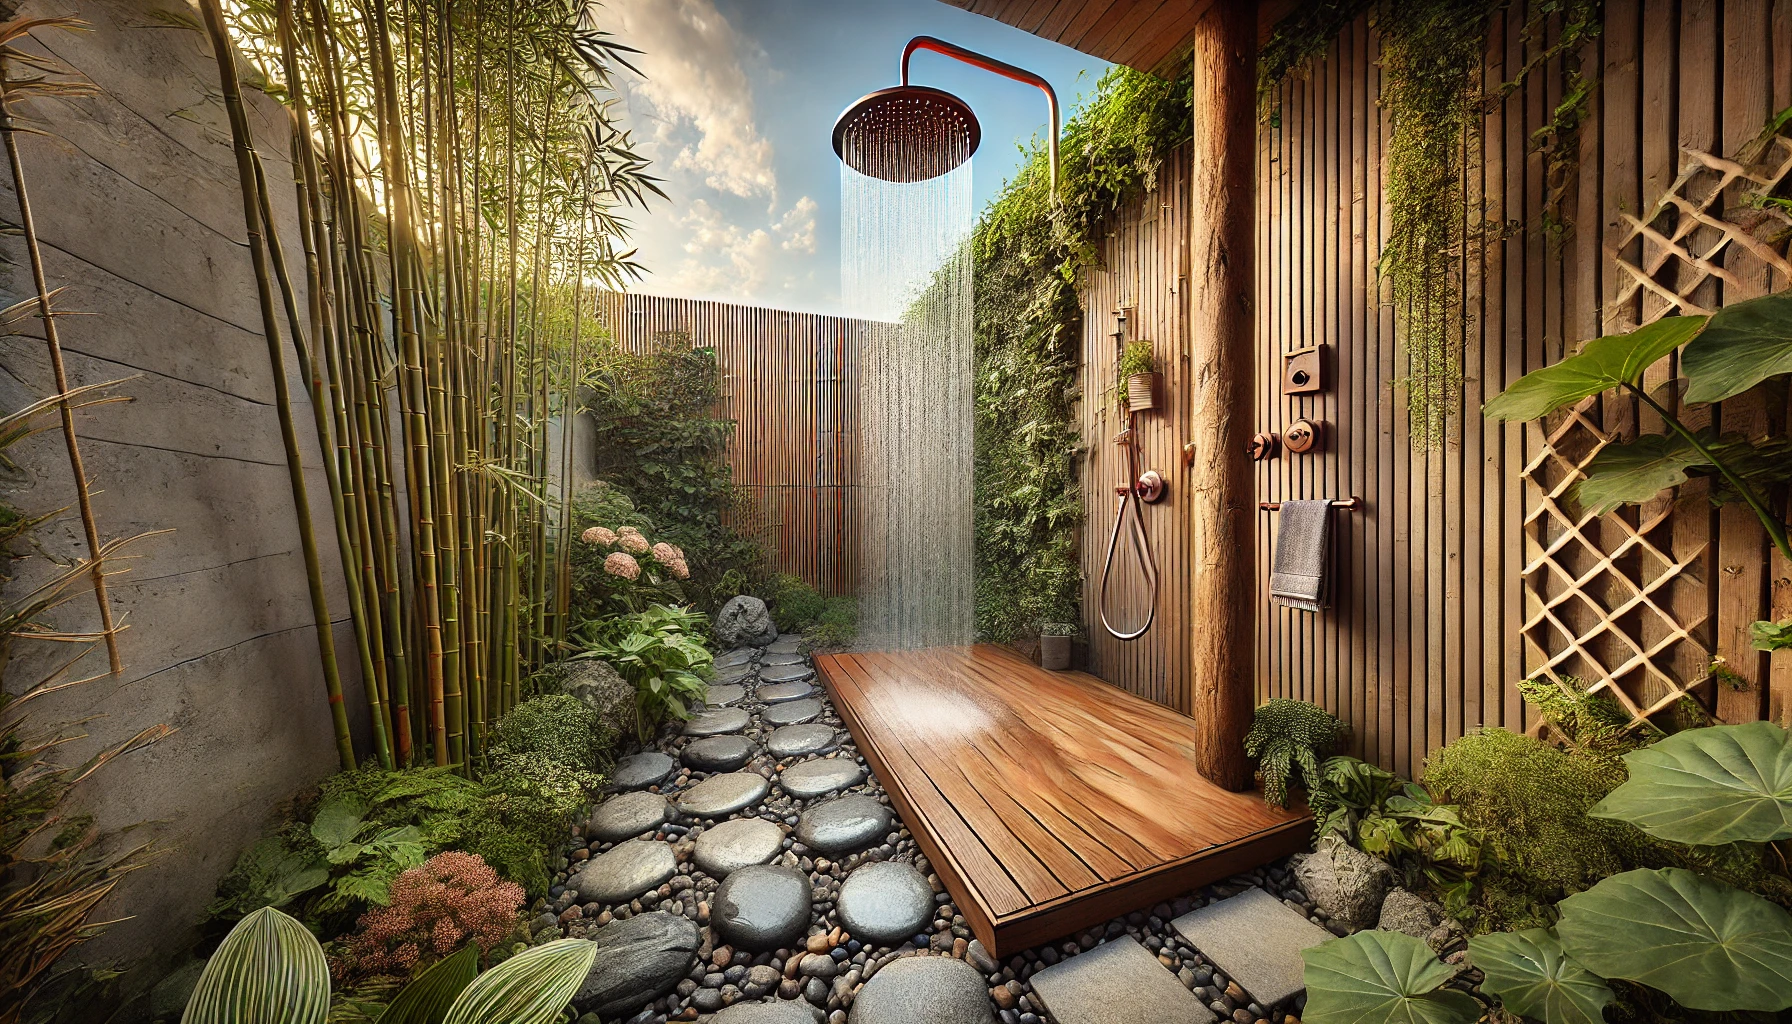
Another aspect that’s often underestimated is the subfloor. Grass as a shower floor isn’t a good idea: It quickly becomes muddy and slippery, and dirt splashes up. A small wooden or stone platform with a drain is much better here. It also looks much neater and ensures pleasant hygiene.
Finally, the water supply shouldn’t be neglected. Simply connecting the garden hose is quick and easy, but if the water pressure fluctuates or you have to turn the water off frequently, you should definitely install a flow regulator or pressure reducer. Otherwise, your refreshing shower quickly becomes a gamble as to whether enough water comes out of the nozzle.
Table: Garden shower – Dos and Don’ts at a glance
Theme |
DOS |
Don’ts |
|---|---|---|
Location |
Choose south side, sunny spot |
Cool, shady places |
Floor |
Wooden or stone platform with drain |
Shower directly on grass or soil |
Water heating |
Use solar water heaters |
Only cold water from the hose |
Water pressure |
Install flow regulator/pressure reducer |
Connect directly without pressure regulation |
Construction |
Carefully fasten, stable construction |
Quickly set up anywhere without any security |
use |
After gardening or splashing around |
Jumping into the shower with dirty shoes |
Care and maintenance of your garden shower – so that the refreshment lasts a long time
Eine Sache, die ich anfangs völlig unterschätzt habe, ist die regelmäßige Pflege der Gartendusche. Klar, man denkt, das ist ja nur Wasser und ein bisschen Plastik oder Metall – aber gerade, wenn du eine Solar-Gartendusche hast, können sich Ablagerungen bilden. Bei mir hat sich nach dem ersten Sommer schnell Kalk an der Duschbrause festgesetzt. Ergebnis? Das Wasser kam nur noch tröpfchenweise raus. Total nervig! Also habe ich mir angewöhnt, die Brause alle zwei Wochen mit Essigwasser zu reinigen. Das klappt prima und verlängert die Lebensdauer enorm.
Außerdem solltest du im Herbst daran denken, die Dusche winterfest zu machen. Wasser, das in Rohren und Schläuchen bleibt, kann gefrieren und alles kaputt machen. Ich habe deswegen immer das Wasser abgelassen und die Dusche abgebaut oder zumindest gut abgedeckt. Ja, das ist ein bisschen Arbeit, aber besser als im Frühjahr eine kaputte Dusche zu reparieren.
So verbesserst du das Duscherlebnis im Garten noch weiter
Wasser ist nicht gleich Wasser, hab ich gelernt. Wenn der Wasserdruck zu niedrig ist, kann das Duschen schnell zur Geduldsprobe werden. Ein einfaches Druckprüfgerät aus dem Baumarkt kann dir helfen, den Druck zu checken. Wenn’s zu schwach ist, lohnt sich manchmal der Einbau einer kleinen Gartenpumpe. Das habe ich bei mir gemacht, und seitdem habe ich immer einen kräftigen Strahl, egal wie viele Geräte gerade Wasser ziehen.
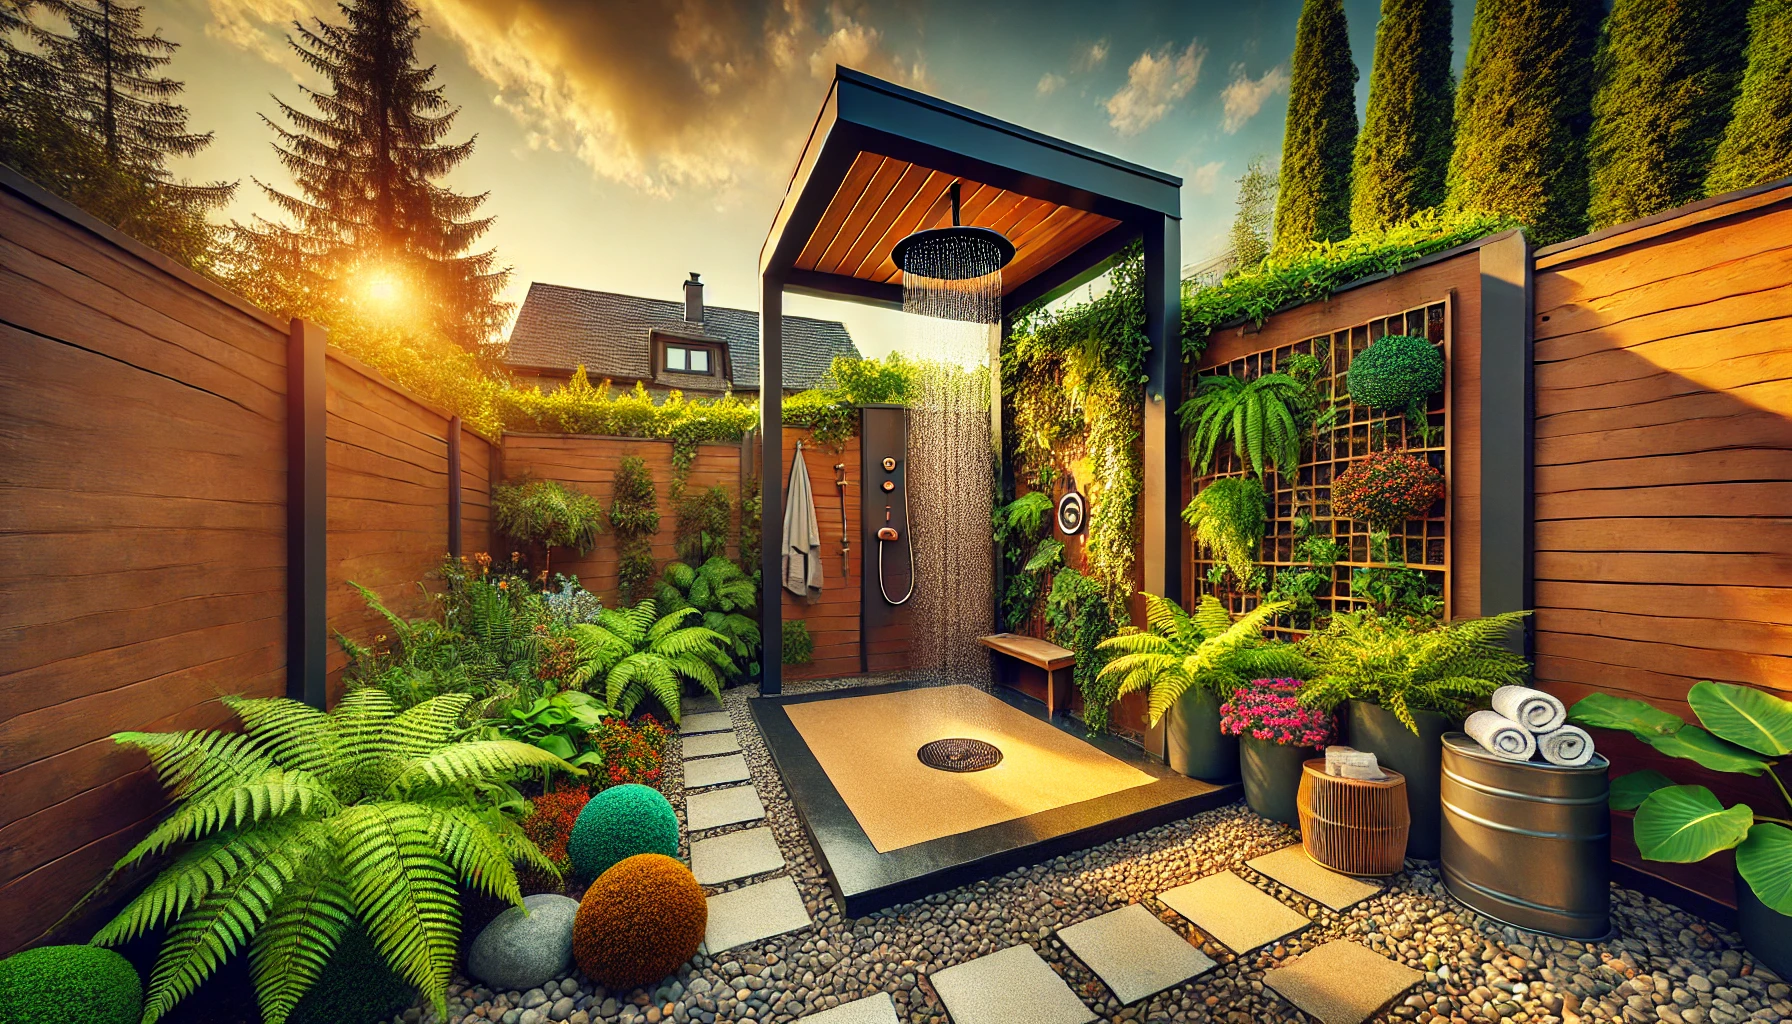
Und falls du wirklich richtig komfortabel sein willst, kannst du über einen kleinen Umkleidebereich nachdenken. Ich habe mir mit ein paar günstigen Sichtschutzmatten und einem Sonnenschirm eine Ecke gebaut, wo man sich schnell umziehen kann, ohne komplett nass durchs Haus zu laufen. Macht das Ganze deutlich entspannter, vor allem wenn man Besuch hat oder die Kids mit im Garten spielen.
Praktische Installationstipps für die Gartendusche – So klappt’s garantiert
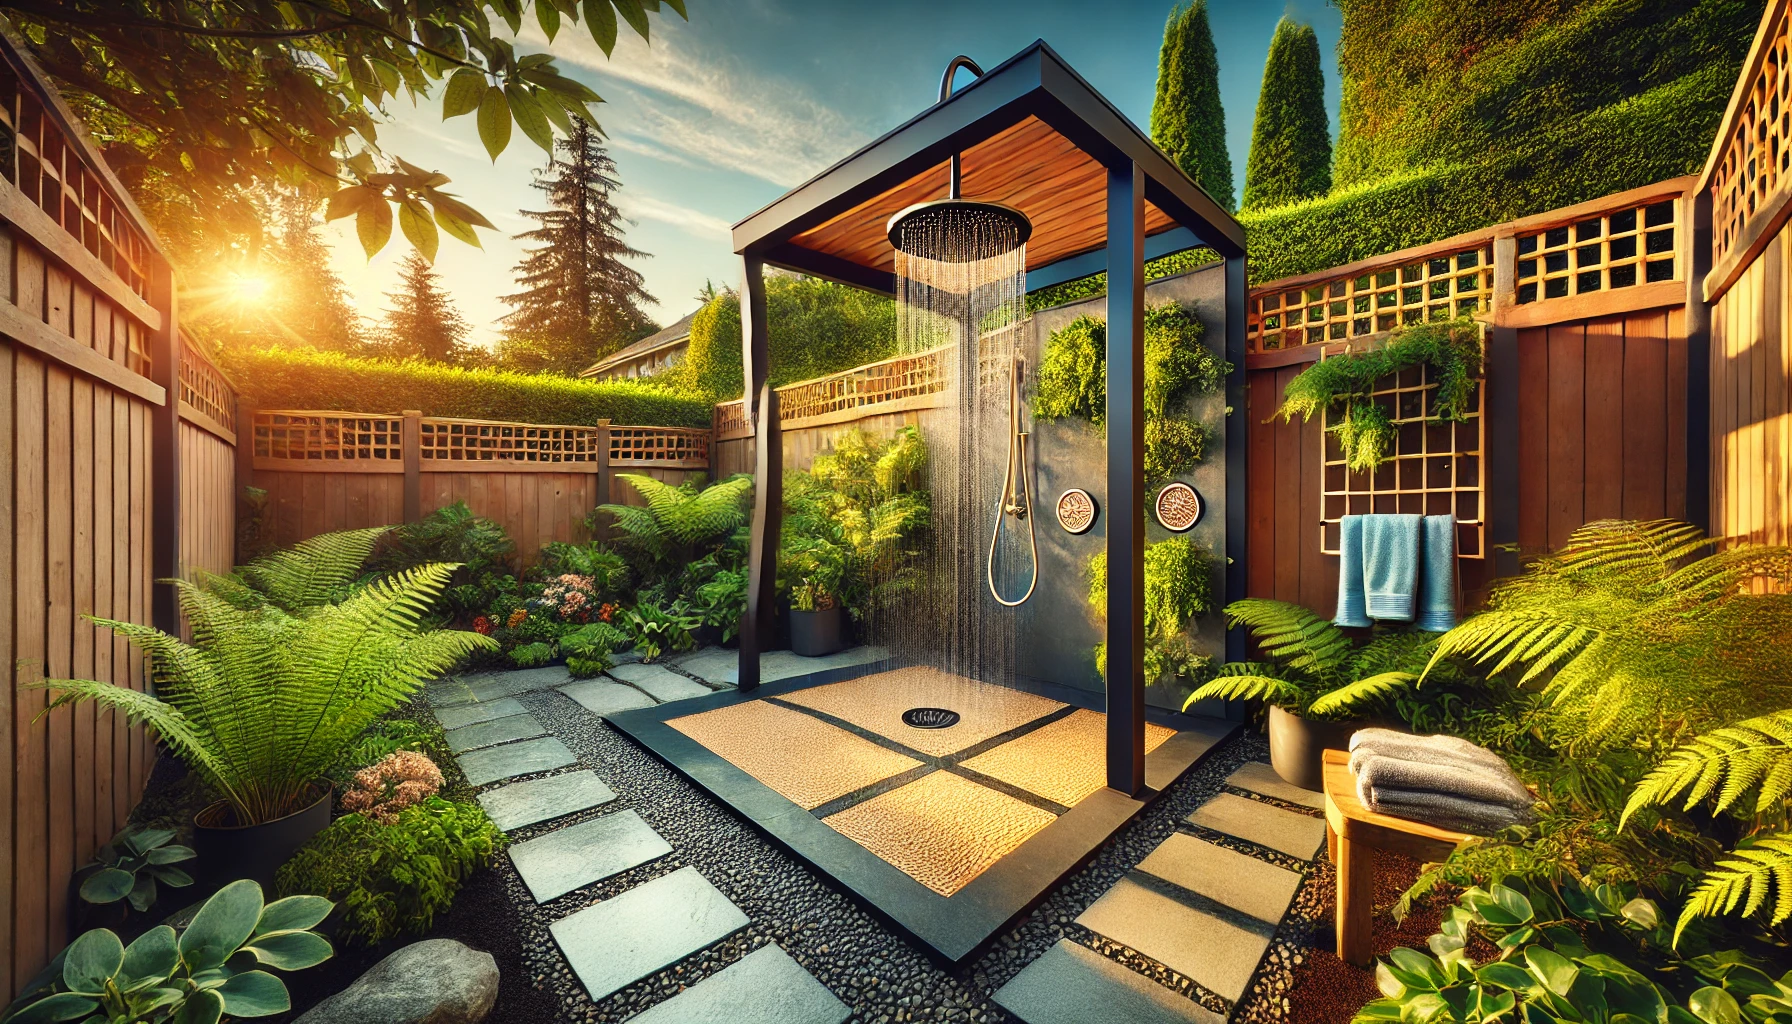
Bei der Installation meiner ersten Gartendusche war ich echt zu optimistisch. Ich dachte, „einfach den Schlauch dran, fertig“. Aber wie das so oft ist, steckt der Teufel im Detail. Zum Beispiel solltest du unbedingt auf eine stabile Befestigung achten. Ich hab die Dusche erst locker an einen Pfosten geschraubt, und nach ein paar Tagen hat der Wind das Ding fast umgerissen. Also habe ich extra robuste Schrauben und Winkel verwendet – das hält jetzt bombenfest.
Ein weiterer Tipp: Achte darauf, dass alle Verbindungen dicht sind. Ich hatte erst an einigen Stellen kleine Lecks, und das Wasser hat sich überall verteilt, nur nicht an der Duschbrause. Nach ein bisschen Tüfteln mit Teflonband und Dichtungen war das Problem weg. Auch der Schlauch sollte möglichst flexibel sein, damit er sich nicht knickt oder bricht, wenn du die Dusche mal bewegst oder verstauen willst.
If you’re using solar water heating, make sure the solar tank is well insulated and the pipes aren’t too long. Otherwise, too much heat was lost, and the water only came out lukewarm. A short pipe and a black tank that absorbs the sun’s rays well are your best friends.
DIY or ready-made solution – which suits you?
I’m someone who likes to do things myself, so I built my garden shower piece by piece. It was fun, but I also spent quite a bit of time figuring out what worked and what didn’t. If you don’t want to do that much tinkering, there are some really good prefabricated models available these days with everything you need – including solar heating and clever shower heads. They’re more expensive, but worth it in the long run if you just want to shower right away.
What I definitely recommend: Plan in advance how often and for what purpose you want to use the shower. Do you only want it occasionally for the kids? Or should it be used regularly after gardening or for cooling off? Depending on your needs, a simple solution or a more elaborate model with warm water and a fixed base might be worthwhile.
How to make your garden shower more sustainable
I’ve tried to consider the environment with my garden shower. For example, I use a rainwater collector that stores the water for the shower. This is particularly practical on warm summer days and saves on drinking water. And the best part: The water from the rainwater tank feels much more pleasant on the skin than hard tap water.
You should also make sure the materials are durable. A garden shower made of stainless steel or weatherproof plastic will simply last longer and be more resistant to the elements. This may seem more expensive at first glance, but it will save you money and effort on repairs in the long run.
What I also think is great: If you can simply disassemble and store the shower after the season, it’s much more sustainable than leaving it outside all year and eventually breaking. My shower is designed so that I can easily disassemble it in just a few steps and store it in the basement. This extends its lifespan enormously.
With these tips, you’ll have a good start to making your garden shower not only refreshing, but also sustainable and long-lasting. Sometimes it’s the little details that make all the difference!


